Sunday, April 1, 2018

Emaze Your Teachers with Stunning Presentations


By Jessica Bohn on March 31, 2018

What Is Emaze? 
Emaze is an online software application for creating visually pleasing presentations, websites, blogs, e-cards and more. This blog post and review focuses on the presentation software component of Emaze.

Why School & District Leaders Need Visually-Pleasing Presentations
What do the following positions have in common:  school principal/assistant principal, instructional coach, district director, education consultant/trainer and superintendent?  All of these leaders are facilitators of adult learning.  As a facilitator of professional learning, it is important to engage your audience with dynamic presentations and professional learning activities.  Otherwise, participants may lose interest and the learning may less likely to stick.   

free image from Pexels.com
There are many ways to get people to listen to you – engage them through online tools, collaborative activities, discussion prompts and so much more.  Leaders often embed activities into their presentations. However, education leaders often give too little consideration to making the visual format of the slide presentation more engaging and interesting.  In this sense, education leaders could learn a bit from the business world, where visually pleasing presentations and graphics are necessary for branding and customer appeal.  After all, part of the role of a superintendent or school principal, is to model excellence in teaching and learning during teacher meetings and professional learning events in a way that benchmarks a standard of excellence for their facilitation of student learning (Darling-Hammond, 2008).

How Emaze Can Help You as a Leader of Adult Learning
Whether you work as a school principal, instructional coach, professor, central office director or consultant/trainer, your visual presentation says something about who you are as a leader and what you expect of others. As a consultant, former principal and central-office PD (professional development) provider, I’ve seen some incredible presentation templates – those that offer unexpected transitions, modern fonts and images, and thematic layouts.  I’ve also seen some pretty awful slide presentations – those that have way too much text, are lacking visual interest or give poor consideration to contrast.  During these presentations, the teachers’ desire to leave the room is almost palpable.

There are plenty of blogs out there that address best practices in presentation design, such as minimizing text and avoiding overlaying text on top of busy pictures.  If you’d like to know more about creating visually pleasing slides, this article provides wonderful guidance about design principles for a professional appearance. how to give a killer presentation, with thorough sections on speaking tips and design principles for slides and graphics. What school leaders are often short on, however, is not advice – but time. In this sense, an online application that does much of the design work for you is a hot commodity for busy education leaders.

There are many presentation software options that leaders and facilitators can choose from. This post examines Emaze, a tool that offers visually-pleasing presentation templates with thematic pictures and graphics ready for your content.  Emaze also offers the ability to upload preexisting presentations made in Powerpoint to a template that includes cool transitions and layouts.  

What Users Say about Emaze
After I introduced a few colleagues to this online presentation tool, they were ‘Emazed’ at the availability of stunning, built-in transitions.  One said, “wow, I am going to use this often for staff meeting presentations.” Another said, “I love the themed graphics, and there’s a good amount that is available for free.”  However, some colleagues who do not purchasing authority thought the cost of the paid versions was a bit high. For more on this read the drawbacks and limitations section below. 

How Emaze Works
After landing at the Emaze website, you can create an account by clicking ‘Start Now’ in the middle of the page or ‘Login/SignUp’ in the upper right corner.  Alternatively, if you want to check out the cool tools first, just scroll down a tad to click on ‘Presentations’ and be ready to be ‘emazed’. The free templates are grouped into three categories:  art & design, business, and edu (for education).  Check out each group. 

Presentation menu

There are quite a few creative templates with moving slide transitions to choose from. For example, the Gallery template in the Edu group is themed to an art gallery where the transitions walk the participants visually from one art display (slide) to another (slide). This is one of my favorite templates among the free Emaze templates. Another favorite is the ‘Breaking News’ template, where the slides are visually presented as newspaper articles and the transitions are reminiscent of reading a print newspaper. Elementary education leaders will love the ‘Chalkboard’ template that takes the participants back to the days of the green chalkboards, while the slides are presented as various areas of the chalkboard. There are other templates to choose from with paid subscriptions.

This tool offers two ways to use Emaze for presentation design – creating a presentation within one of the amazing templates, or uploading an existing presentation. The Powerpoint presentation
PPT upload tool
upload feature, a button labeled ‘PPT’, can be found in the upper right corner of the screen, right next to the ‘Create’ button. 

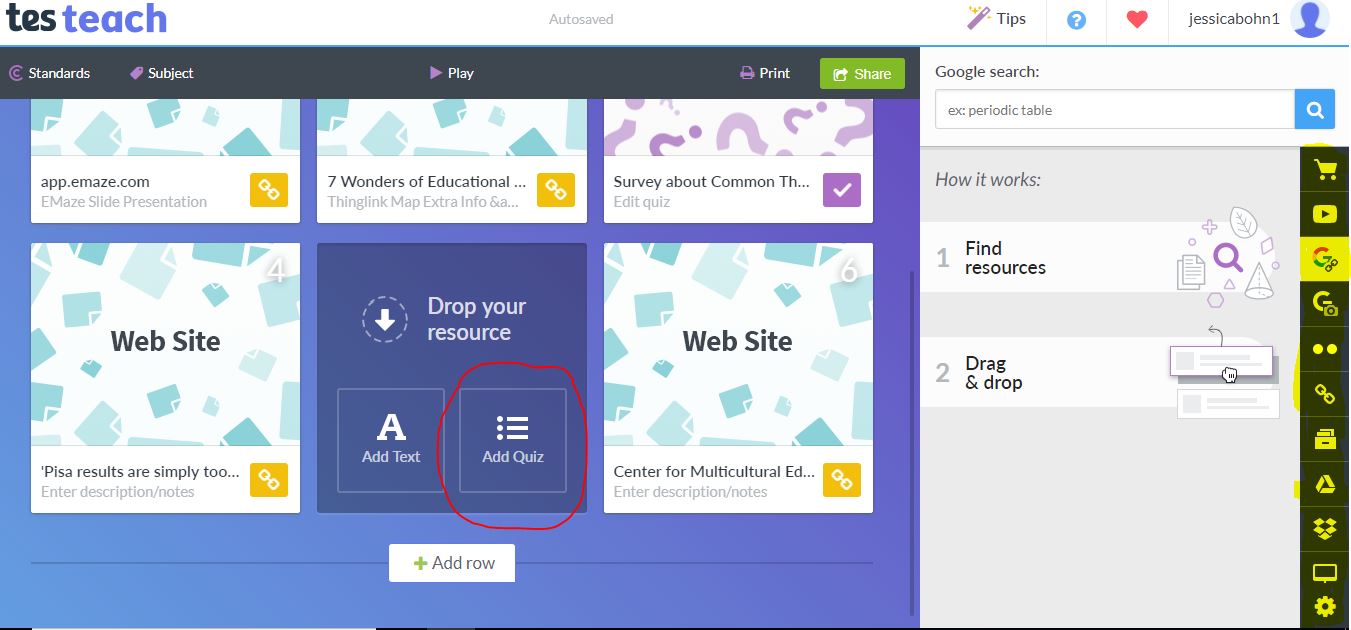
The rest of the tools within the application (i.e. adding text, images, videos) are very user-friendly. For example, after clicking on add text and choosing the text level (i.e. subtitle), a text editing menu appears, where you can change the font, size, etc. This text editing menu can be pulled up again at any time by clicking on the text you want to alter. Similarly, an image editing menu appears when clicking on any image you add (if it is not built in to the background design template.) Use the save button to save your work. 
Text editing menu


Other Uses
Aside from creating content in stunning 3D and 2D templates or uploading existing presentation content into a template, Emaze has some collaborative tools that expand usability. According to the site itself, Emaze presentations can be shared “directly with your viewers via email and social media. Collaborate with your team, view your audience insight analytics, download to PDF, MP4 and HTML, and present remotely from anywhere in the world.
Embed your presentations in your blog or website, control your privacy setting, and automatically translate a presentation into  any language.”However, users should be cautioned that many of these features are not available with a free account. Still, at $4.50/mo educators get a steal on upgraded features, which are $12.50/mo for non-educators. This makes Emaze affordable for most schools, districts and even individual teachers. If you plan to ask the district to pay, check school/district policies as some preclude subscriptions. You can see the three pricing tiers here. Make sure you click on the 'Edu' menu, highlighted in black in the image to the left.

Drawbacks & Limitations
The main drawbacks center on the limitations that come with a free account.  For example, the free version of Emaze only allows you to create and keep 3 presentations and does not allow downloads of the presentation to PDF or otherwise.  Unlimited presentation design, downloading ability and team collaboration are a few of the features of a paid subscription.  There is a decent, if somewhat limited, availability of text sizes and graphic vectors.  However, the tool does include the ability to upload your own save pictures in the free version, so the limitation with graphics is easily resolved.  With the ability to upload a Powerpoint presentation, some fonts will be preserved when uploaded to Emaze.

After you have created a professional-looking presentation, you can find tips on how to prepare for speaking/delivery in a June 2013 article in the Harvard Business Review.  In fact, these tips are great for education leaders who are in positions that demand a fair amount of public speaking (i.e. superintendent or principal). By practicing your delivery and using an online software application like Emaze to deliver a visually-interesting presentation, you can captivate your participants and drive your content home. 

References
Anderson, Chris. (2013, June). How to give a killer presentation. Harvard Business Review. Retrieved March 31, 2018 from https://hbr.org/2013/06/how-to-give-a-killer-presentation.

Darling-Hammond, L. (2008). Teacher learning that supports student learning. Teaching for intelligence2(1), 91-100.

Slidebean. (2017, January 27) Presentation design inspiration:  the essential design guide. [Blog Post] Retrieved from https://slidebean.com/blog/design/presentation-design-inspiration.


Sunday, February 4, 2018

Tes Too Much?

A Review of TesTeach, an Organizational Tool for Leaders of Professional Learning 
With so many technology tools emerging at such a fast pace, it can be difficult for education leaders and facilitators of professional learning to keep up.  While looking for a tool to assemble presentation resources, I came across a tool, TesTeach, which has evolved from its previous existence as Blendspace.  Blendspace, now TesTeach, provides a way to organize and compile parts of a presentation, lesson or training session in one space.

I landed on using TesTeach to organize the various components of my presentation, including a web-based slide presentation, a survey/quiz and other online tools and activities to enhance engagement.  After the learning curve was rather time-consuming, I decided to document the uses and challenges in a blog post to share with other leaders and professional learning facilitators.

This blog post will provide an overview of the benefits and challenges to user-friendliness of TesTeach, based on my own use of the tool. For reference, this article discusses the key components to user-friendly navigation in website applications.

Uses & Benefits
Leaders, teachers and professional learning facilitators of all types can use the portion of Tes that was formerly Blendspace to compile and organize slide presentations, articles for reading, links from the internet, videos and even other technology tools (if link accessible) into one space. Education leaders might find this particularly useful for creating staff development for teachers.  Teachers can also use this tool for the same purpose, with students as participants.  In either case, as Darling-Hammond, a highly referenced researcher in education, points out in this article, best practice has consistently shown that professional development is more effective when active learning with a variety of activities is incorporated.

Rather than having to open and toggle among a multitude of sites, documents and slide applications, leaders and facilitators can efficiently organize an engaging learning environment by using TesTeach.

Since Blendspace was merged with Tes, it has expanded into a warehouse for Tes learning courses (sold by Tes & users), job posts and a collection of articles, in addition to TesTeach, the personal space for lesson organization previously known as Blendspace.  Offering job information and online career-oriented 'courses' does offer a unique new purpose for using the tool. However, this review is focused on the TesTeach/Blendspace application in the site.

Challenges & Drawbacks
Some functions take you frustratingly back to the larger parent site for Tes, which is where professional learning courses, articles and job services are offered.  Navigation to and within TesTeach is not especially user-friendly, when trying to get into (or back into) your lessons as a teacher or student. If a link redirects you out to the parent site, the best way I found to navigate back to the TesTeach/Blendspace part of the site is to click on 'lessons' in the gray bar to the left (not 'courses' in the top bar).

The student experience (as a participant) and the teacher experience (as a facilitator and lesson creator) are both important. If you are leading a training that requires students to log in to TesTeach, you should be familiar with the nuances of both experiences so you can support your participants.

Facilitator/Teacher Experience
As a facilitator or creator of lessons, I highly recommend you use the link in the top center portion of the screen to navigate back to the 'old version.' In both versions, there is no scroll bar on the page to allow access to all the menu features (highlighted on the right) but this is magnified in the new version.  However, this causes additional limitations in the new version.

The 'drop here' boxes are where you drop components of your lesson; however, external resources cannot be dropped here. Only items from the menu bar on the far right (highlighted in this picture) can be dragged into the 'drop here' space.
Menu for Lesson Creation in "Old Version" of TesTeach
However, in the new version, because there is no scroll bar to access the lower part of the menu, there is not a way to drop an external file, such as a Microsoft Word document, unless you first put it into a Google Drive.  In the old version, there are more buttons visible, including an add file button near the bottom.

Another challenge within the facilitator experience is with the Quiz function of the website. This quiz function is only available in the old version of the site.  In the new version, the boxes no longer contain an 'add quiz' function (included in the main menu of the old version). Creating a quiz is fairly intuitive, but utilizing it is so challenging that it is almost rendered useless. Results cannot be viewed, because a series of links ends with an error message. Perhaps TesTeach decided to eliminate the quiz option in the new version, because the functionality rendered the option useless.

Participant/Student Experience
If you do not have access to participants' email addresses or you are providing professional development in a face-to-face setting, providing them with a long link can be cumbersome. Instead tell them to go to www.blendspace.com, click on 'join a class' and enter the code you'll give them. There are certain share buttons on the site that direct you to tell your participants to go to the Tes site and enter the code. However, this could provide a frustrating experience, because finding the place to enter the code is quite challenging from the main Tes page.  If participants do somehow get directed to the main Tes page, have them click on the link for 'lessons' in the vertical gray bar on the left. Then they should use the link in the yellow portion of the screen to navigate back to the 'old version.' 

Helping Students Access the Old Version in TesTeach
Then the user will have a screen with an option to create a new lesson or join a class, just as if they went to Blendspace to begin with. 

There are other non-intuitive nuances. Let's say a student opens an instructor's lesson and the first component is a slide presentation. When the student clicks to open it, the first slide is shown and there is a right arrow (next) button.  However, it is easy to mistake the right arrow for a 'next slide' button since the right arrow is not labeled and no other navigation options appear. The right arrow is a 'next component' button which takes you to the next part/activity (web site, quiz, etc), not the next slide in the presentation.  Students can hit the left arrow button to toggle back to the presentation and double click on the presentation further to open the presentation.

These problems could be solved by cleaning up the navigational flow, adding explanatory text next to navigational features and properly labeling the TesTeach (formerly Blendspace) portion of the site. In an article by Jack Wallen that discusses 10 characteristics of user-friendly software, the authors suggest that a pleasant, easy to navigate GUI (Graphical User Interface) is an important component for user-friendliness.

While you can utilize most of the functions purported in the free account, both navigation and functionality can be a bit frustrating.  However, the overall purpose - being able to compile multiple workshop presentations tools in one place -- remains a useful tool for facilitators of professional learning. 

Image credit: first image from this website; second image from this website; last image from this website; other images are screenshots

References
Darling-Hammond, L., Hyler, M., Gardner, M. (2017, June) Effective Teacher Professional Development. Retrieved from https://learningpolicyinstitute.org/product/effective-teacher-professional-development-report.

Magdalena, G. (2012, August) The Key Components of a User-Friendly Website. Retrieved from https://blog.hubspot.com/blog/tabid/6307/bid/33536/the-key-components-of-a-user-friendly-website-navigation.aspx.

Wallen, J. (2010, September)  10 Things that Make Software User-friendly. Retrieved from https://www.techrepublic.com/blog/10-things/10-things-that-make-software-user-friendly/.